Shower tiles aren’t difficult to install, but if they’re not done correctly you could do serious damage to your bathroom wall. In this post, we’ll discuss the proper way to install tiles.
Materials
- 1×4 Board
- Screws
- Drill
- Level
- Thinset
- Trowel
- Tiles
- Spacers
- Tile cutter
- Tile file
- Hole saw
- Unsanded grout
- Rubber float
- Sponge
Process
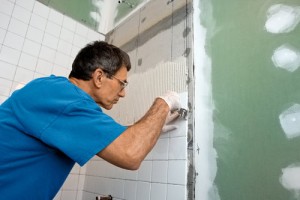
Before the process begins, you’ll want to check the soundness of the wall to be tiled. Old tiles already on the wall will need to be removed. When this is done, inspect the backerboard for soft spots or signs of rot. If the backerboard is damaged, it will need to be replaced before you can begin. If the wall is sound and shows no signs of water damage, then you can proceed to the first step in the process.
- Install the board over the spot on the wall where the bottom row of tiles will eventually be installed. Use the drill to drive screws through the board and into the wall. Use the level to ensure that the board is even when you install it. Doing this will give you a flat surface above which you can begin to install your tile. This is better than starting your tiles from the floor because the floor is often not quite level and this will result in your tiles being installed crookedly.
- Mix the thinset according to the thinset instructions. When it’s mixed, the thinset will be a texture similar to peanut butter.
- Use the trowel to spread the thinset over the wall, then turn the trowel over and use the notched side to dig through the thinset on the wall.
- Install the first tile on the wall. Press the tile into the thinset.

- Install a spacer on each side of the tile. The spacers will ensure that there is proper spacing between the tiles.
- Start placing tiles down the row, using spacers to keep the tiles evenly distanced from one another. If the thinset isn’t thick enough to keep the tiles on the wall, then you’ll need to spread the thinset more thickly on the wall, and use a larger comb to dig through the thinset.
- Use the manual cutter to slice the tiles to fit when you come to the edge of the wall. The edges of the cut tiles will be sharp and may need to be filed down. If there are parts of the wall where the plumbing juts out, you’ll need a hole-saw designed for tile. If you’re looking for a demonstration of how to use a manual tile cutter, watch this helpful YouTube video: https://www.youtube.com/watch?v=H_OAovANaO4
- Once you’ve tiled the entire wall except for the board that you installed along the bottom row, use the drill to remove the screws holding the board on the wall. When this is done, install the tiles along the bottom row. Measure the space for each tile so you’ll know what size to cut the tiles to fit.
- Once you’ve installed all the tiles and the thinset has been allowed to dry for 24 hours, remove the spacers.
- Mix the grout according to the instructions.
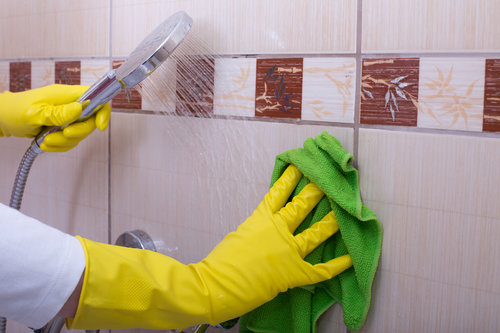
- Use the rubber float to spread the grout over the spaces between the tiles. Use the sponge to wipe away grout on the flat part of the tile.
- Allow the grout to dry.
- Use the sponge to wipe up any remaining grout that shouldn’t be on the tiles.
Call Terry’s Plumbing If You Have Questions
We’re not experts in tile installations, but we do know our way around a bathroom. If you’re taking on a bathroom remodel and have questions about the process, whether your questions are about the shower walls or about the plumbing or anything else going on in the bathroom, contact Terry’s Plumbing. We’ll be happy to answer your questions to the best of our ability.
 (412) 364-9114

