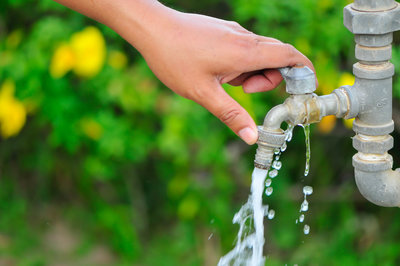
From washing the car to watering the lawn, outdoor faucets are important for a variety of reasons. For your convenience, your home should have outdoor faucets in the front and the back yards. Whether your home lacks an outdoor faucet in one of these areas, or you simply need more faucets to be productive while working outdoors, this tutorial will walk you through the installation process step-by-step. With a few useful tools and some know-how, you can install a faucet yourself, without help from a professional.
Materials:
- 1 3/8 inch drill bit
- Drill
- Pipe cutter
- Bucket
- Pipes and fittings
- Propane torch
- Solder (lead-free)
- Pipe hangers and screws
- Faucet
- Plumber’s putty
Faucet Installation Procedure
- Pick the location of the faucet. Look in your basement or crawl space for an area near a pipe where your faucet can be installed. If there is no water supply pipe near the location where you’d like to install the faucet, you’ll have to run pipe to a water supply line elsewhere in your home. Pick the location for the new faucet carefully to ensure that you won’t have to drill through wires, plumbing or brick to get through to the basement or crawl space.
- Drill a hole through the wall of your home. Use a 1 and 3/8 inch drill bit to drill through the wall of your home into the crawl space or basement.
- Pick the water supply pipe that you plan to use. When you’ve found the right water supply pipe for your purposes, clean the pipe and turn off the water.
- Cut through the pipe. Use a pipe cutter to cut through the pipe that you plan to use for the faucet’s water supply. Put a bucket directly beneath the pipe to catch any water that runs out.
- Run the pipe line to the area where the faucet will be located. Install pipe hangers all along the area where the new pipe will be installed, then insert a pipe into the hangers and run the pipe to the freshly cut water supply line.
- Solder the old pipe together with the new pipe. If you’ve never soldered before, practice on a few scraps before connecting the two pipes together. Run the pipes all the way up to the area where the faucet will be installed in the wall. For more information about soldering, take a look at this video: https://www.youtube.com/watch?v=B35P2ABDWUA
- Install the faucet in the side of the house. Put plumber’s putty around the back of the faucet piece, then insert the faucet into the hole from the outside of the house. Push the faucet against the wall of the house so that the plumber’s putty squeezes out through the sides of the faucet. Wipe off any excess putty that squeezes around the edges of the faucet. Screw the faucet into the house to keep it secure.
- Connect the faucet piece to the pipes running up to the house. Use the solder and the propane torch one more time to complete this piece.
Contact Terry’s Plumbing for All Your Faucet-Installation Needs
Do you need plumbing tools or supplies to get this job done? Or are you looking for a plumber who can do the job for you? Terry’s Plumbing is your source for expert plumbing installation and also plumbing supplies. Contact us today for more help and for expert plumbing services!
 (412) 364-9114
